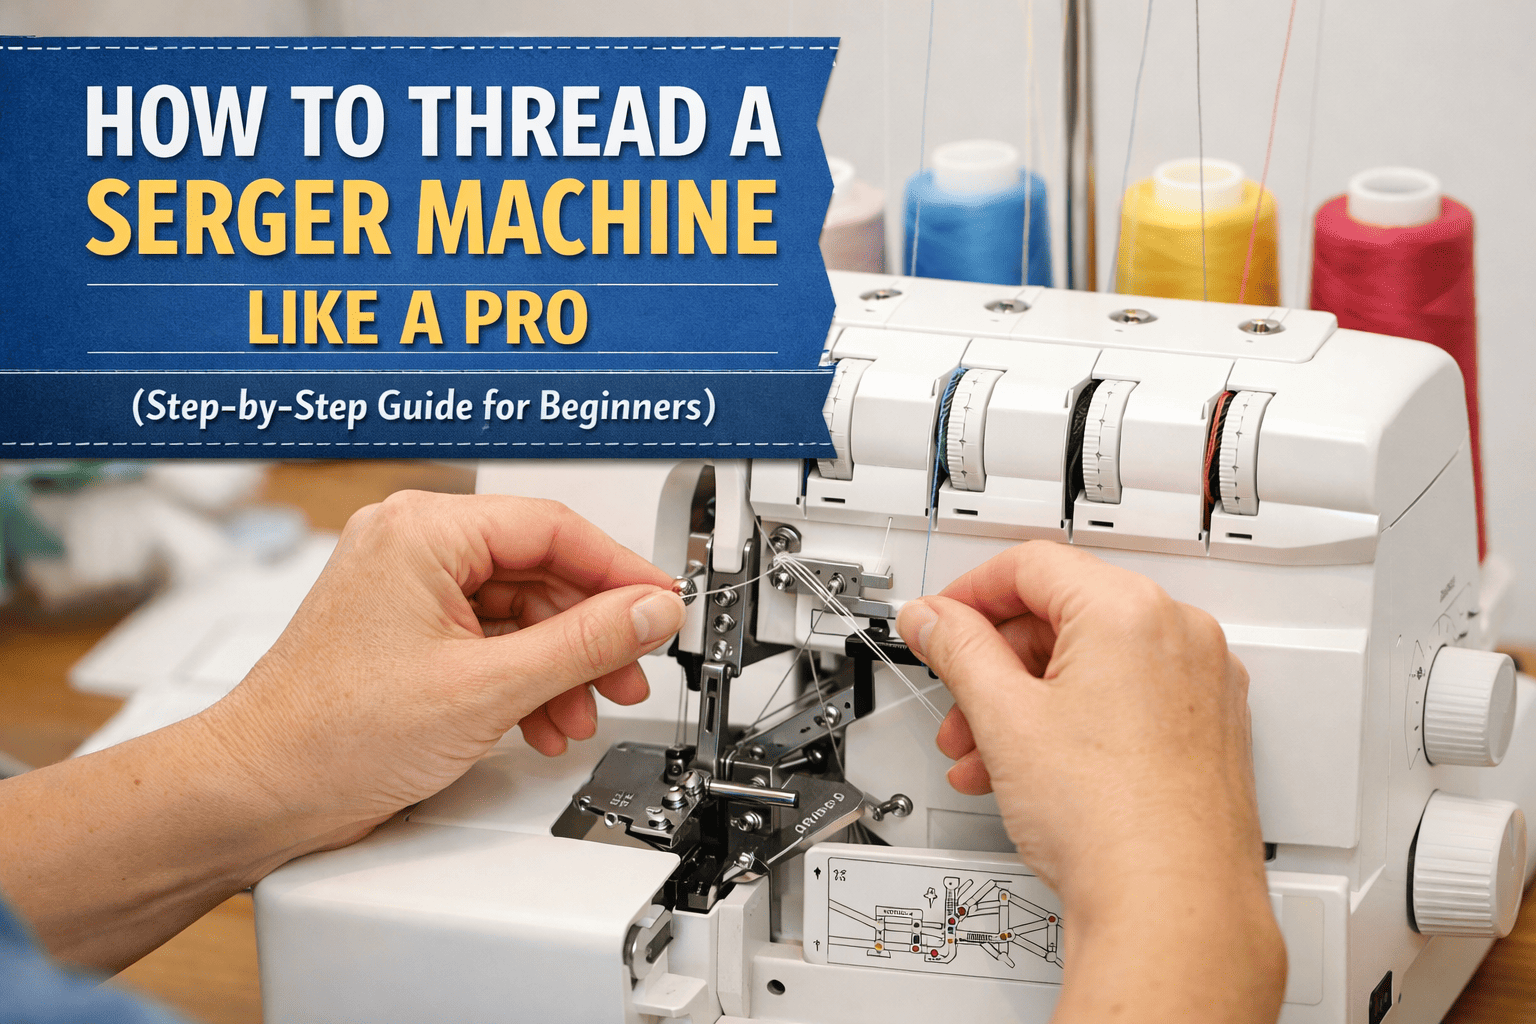
Threading a serger machine can look intimidating at first — multiple spools, loopers, and criss-cross thread paths can make anyone nervous. But once you understand the logic behind the process, it becomes one of the easiest parts of serger sewing. In fact, proper threading is the real foundation of clean seams, decorative stitches, and frustration-free sewing.
In this beginner-friendly guide, you’ll learn exactly how to thread a serger machine like a professional, even if you’re touching one for the first time.
Why Correct Threading Matters
A well-threaded serger:
- Prevents skipped stitches and thread breakage
- Creates smoother, stronger seams
- Allows you to explore decorative threads and advanced stitch styles
- Saves time and reduces machine troubleshooting
Threading isn’t just a setup step — it’s a skill that directly impacts your sewing results.
What You Need Before You Start
Keep these essentials ready:
- 3 or 4 serger thread spools (depending on your machine)
- Tweezers (optional but helpful)
- Small scissors or thread snips
- Your machine’s threading chart (usually inside the looper cover)
Most sergers include a color-coded guide. If yours has one, you’re already halfway there.
Step-by-Step Serger Threading Process
Turn Off the Machine
Safety always comes first. Switch off your serger to avoid accidental foot pedal movement.
Lift the Presser Foot
This releases the tension discs, allowing threads to slide smoothly into place.
Open the Looper Cover
Locate your machine’s threading chart. It shows the exact order for threading.
Follow the Threading Order
Sergers must be threaded in a specific sequence:
- Upper looper
- Lower looper
- Right needle
- Left needle (if applicable)
Threading out of order is the main reason people face stitch issues.
Thread the Loopers First
Upper Looper
- Place the spool on the stand
- Guide the thread through the marked path
- Hook it into the upper looper eye
- Pull 3–4 inches of thread out the back
Lower Looper
- Repeat the same guiding method
- Use tweezers if the space feels tight
- Hook the thread into the lower looper eye
- Pull the thread out the back
Make sure both looper threads are hanging freely behind the machine.
Thread the Needles
Right Needle
- Guide the thread through the channel
- Insert through the needle eye (front to back)
- Pull the thread behind the machine
Left Needle (for 4-thread sergers)
- Repeat the same process
- Ensure it doesn’t tangle with other threads
- Pull the thread out the back
Lower the Presser Foot
This re-engages thread tension.
Run a Test Stitch
Use a scrap piece of fabric and stitch 2–3 inches. You should see:
- Balanced thread loops
- Clean seam edges
- No loose threads or breakage
If something looks off, recheck the threading order.
Pro Tips to Thread Faster and Better
- Tie new thread to old and pull through when changing colors
- Always thread lower looper before needles
- Use quality threads to avoid breakage
- Trim fuzzy thread ends before inserting into looper eyes
These habits separate beginners from professionals.
Common Threading Mistakes to Avoid
- Not lifting the presser foot before threading
- Threading needles before loopers
- Ignoring the threading sequence
- Pulling thread too short at the back
Fixing these small steps solves 90% of serger problems.
Final Thoughts
Threading a serger isn’t complicated — it’s systematic. Once you understand the path and sequence, you’ll thread confidently every time. It’s like learning the alphabet of your machine. And the more you practice, the faster and cleaner your results become.
If you want to master serger threading, 22+ professional stitch types, wave hems, ruffling, and decorative thread techniques step by step, then this expert serger course is the perfect next move for you.